Adding Text To Speech to the Translate Application in Android
Preliminaries:
Download and install the Android Software Development kit from here:
http://code.google.com/android/intro/installing.html
Information about using the Text-to-speech API can be found here:
http://eyes-free.googlecode.com/svn/trunk/documentation/tutorial/tutorial.html
Information about the Translation application can be found here:
http://beust.com/weblog/archives/000500.html
You can find information and source-code for applications that people from Google have written for Android here: http://code.google.com/p/apps-for-android/
1. Download the source code for the the Translate application.
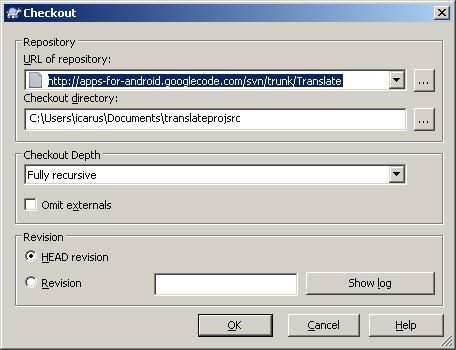
You can use any svn client that you want to download the source code for the Translator application. I used tortoisecvs. Create a directory somewhere, and download the source code from http://apps-for-android.googlecode.com/svn/trunk/Translate

2. Create a new project in Eclipse
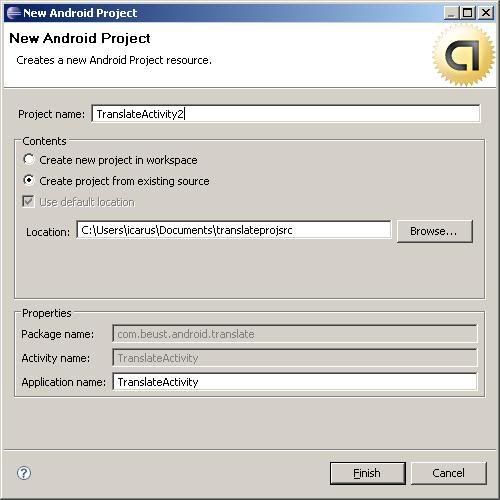
Select File->new->Android Project. Then select the option to "Create a New Project from existing source". Under location, click browse and select the directory where you downloaded the Translator files to. Give the project a name that is meaningful to you. I chose "TranslateActivity2". The other fields are automatically filled in for you.

3. Download the TTS library and add it as an external library
Download the tts library stub from here:
http://eyes-free.googlecode.com/svn/trunk/commonlibs/TTS_library_stub.jar
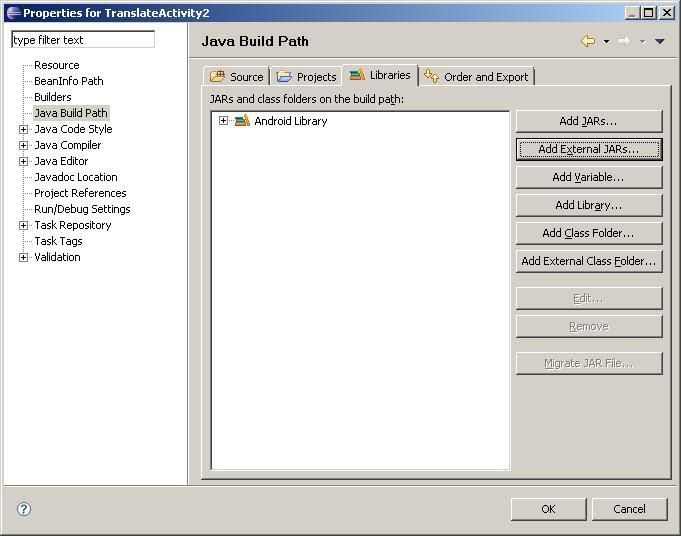
Go to Project > Properties > Java Build Path > Libraries and click on "Add External JARs..." Then add in the TTS_library_stub.jar file.

4. Edit the source code to use the TTS library
In the TranslateActivity.java file make the following changes:
In the imports section, add
import com.google.tts.TTS; |
private TTS myTts; |
In the "onCreate(Bundle icicle)" method add:
myTts = new TTS(this, ttsInitListener, true); |
private TTS.InitListener ttsInitListener = new TTS.InitListener() { |
myTts.speak(result, 0, null); |
if(from) |